Draw Ears
Draw Ears - Depict lines inside the auricle. Web learn ear drawing tips and tricks to make your character illustrations more realistic! The part of the helix that curves inward is called the crus of the helix. Draw this wider at the top and narrower at the bottom. What we want to do first is a shape that turns into an ear sketch. Its outer outline is formed by the helix. Add volume to the drawing. Learn a simple way to draw ears in this drawing for beginners. Draw two lines connecting the circles. The first step is to draw the contours (or outlines) of the ear. The part of the helix that curves inward is called the crus of the helix. Using the reference picture as a guide, we shall start by drawing a curvy vertical line. Drawing ears is a necessary skill to help you create more realistic, expressive, and engaging expressions and drawings. 70k views 4 years ago drawing tutorials. You will be using. Web the ear is a simple drawing that can be developed through a few easy steps as we develop it from our ear sketches into a realistic human ear drawing. Draw the outer contour of the auricle. If you are brand new to drawing and want a more simplified version of the ear, you can find a. Ears are essential. 330k views 7 years ago. Web learn how to simplify the complex forms of the ear: Leave the outline open at the area where the ear connects to the head. Start your ear drawing with a curve. Need some help drawing ears? Using the reference picture as a guide, we shall start by drawing a curvy vertical line. Web the two step process for drawing realistic ears. This way, you will clearly see all lines. Outline the shape of the ear making sure the bottom part of the ear (ear lobe) is smaller in proportion to the top part of the ear. Creating the shape of your ear drawing. Place the large circle above the small one as shown, leaving some space between them ( at least 2 inches). Need some help drawing ears? If you are brand new to drawing and want a more simplified version of the ear, you can find a. Depict lines inside the auricle. Depict lines inside the auricle. Draw this wider at the top and narrower at the bottom. Add volume to the drawing. Get unlimited access to every class. Follow these step by step visuals and you’ll be able to draw an ear in minutes! Depict lines inside the auricle. The finished ear drawing will eventually be shaped like a kidney bean. Front, side and back as well as how to draw a pair or ears. To draw this part, use a curved line. For the first step in this guide on how to draw an ear, we will start fairly simple. 70k views 4 years ago drawing tutorials. Watch this class and thousands more. Draw two lines connecting the circles. Learn a simple way to draw ears in this drawing for beginners. Start your ear drawing with a curve. Make sure that the bottom line matches up with the contour to give the illusion of the bump overlapping the ear’s rim. You should get a shape that looks like an incomplete oval. However, your foundation lines will start with a more circular! Two step approach for drawing the ear. These shapes serve to give the ear a basic structure. Drawing ears is a necessary skill to help you create more realistic, expressive, and engaging expressions and drawings. Need some help drawing ears? For the first step in this guide on how to draw an ear, we will start fairly simple. These lines will exist in areas of high contrast of value. What we want to do first is a. You should get a shape that looks like an incomplete oval. Gently draw an oval shape using your pencil. These visuals will help you become a pro at drawing ears, and teach you how to draw ears step by step. Draw two lines connecting the circles. This way, you will clearly see all lines. Front, side and back as well as how to draw a pair or ears. Draw the shape of an ear. An ear in profile view looks like the letter c. These shapes serve to give the ear a basic structure. The first step is to draw the contours (or outlines) of the ear. How to draw an ear: Ears are essential to add personality and depth to your characters. Need some help drawing ears? Make sure that the bottom line matches up with the contour to give the illusion of the bump overlapping the ear’s rim. With our materials ready and our equipment nearby let’s begin our drawing. Using the reference picture as a guide, we shall start by drawing a curvy vertical line.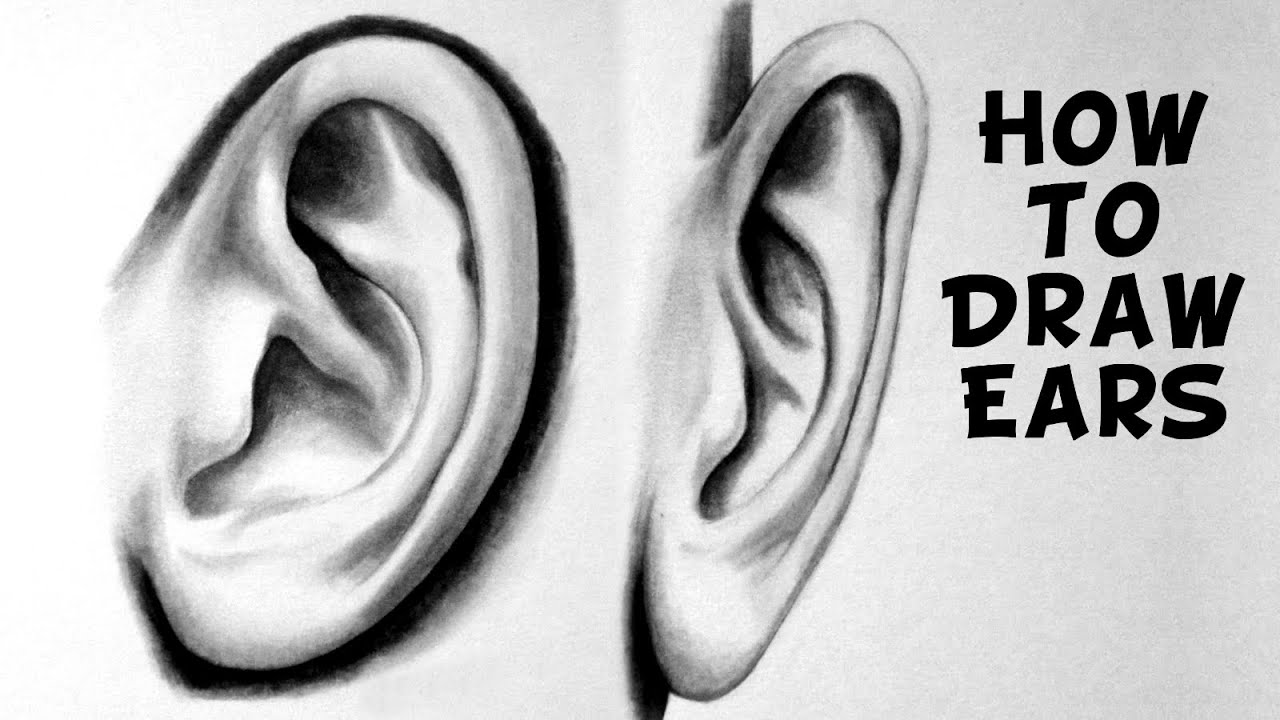
How To Draw Ears Front View How to draw anime and manga ears manga

Ear Drawing Reference Front View This is drawing ear tutorial

Ear sketch illustration hand drawn animation transparent Motion

How to draw ear (Profile view)? Drawing Ear in simple steps LOV4ARTS
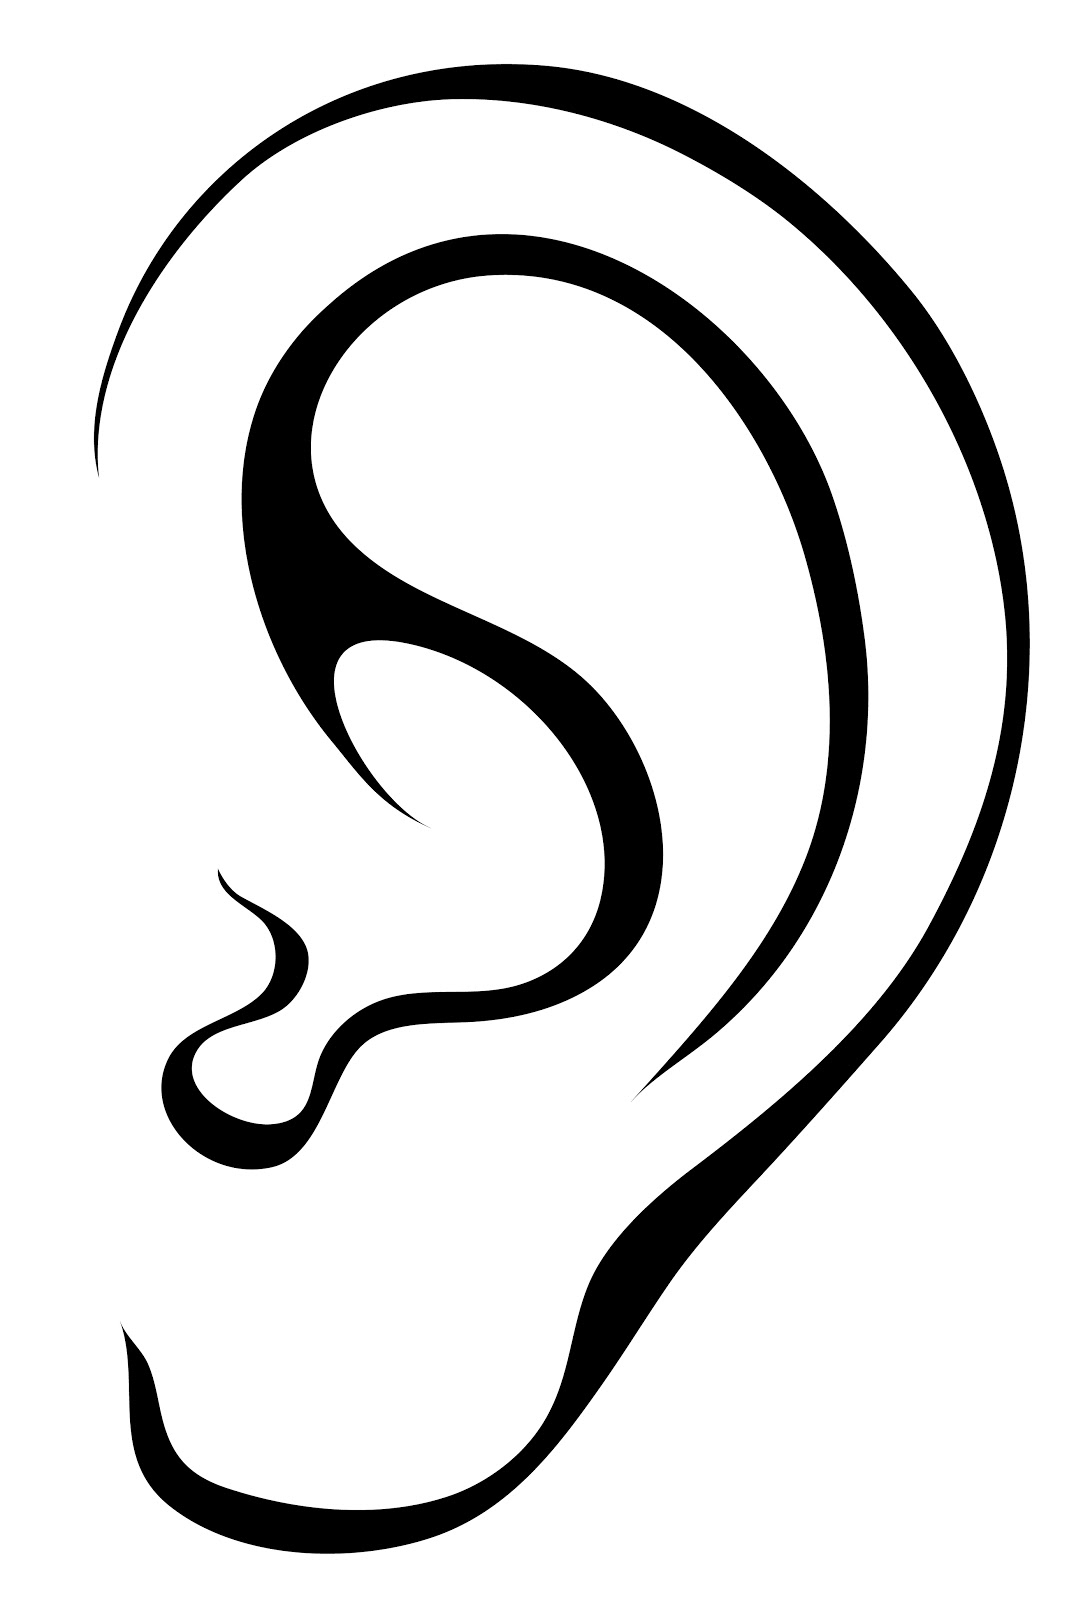
Clip Art Ear ClipArt Best

How to Draw Ears 6 Steps (with Pictures) wikiHow

Draw Facial Features with This InDepth Beginner’s Guide
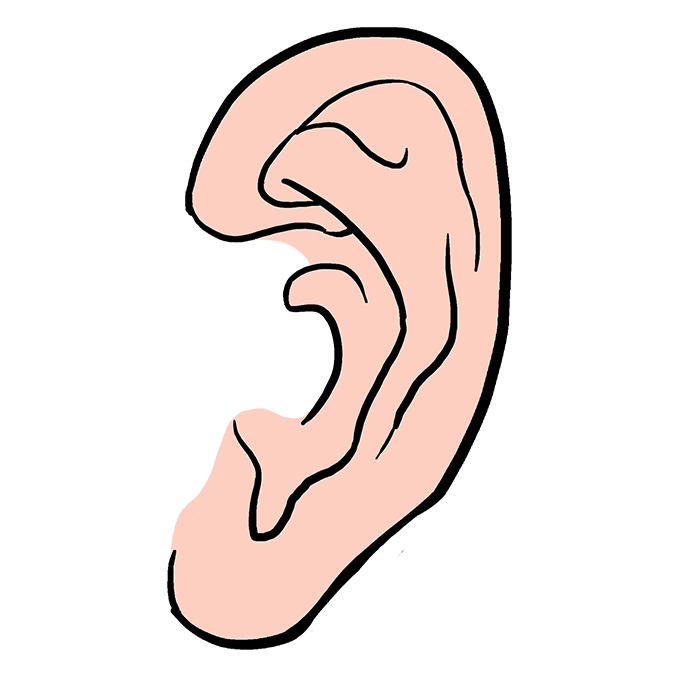
How to Draw an Ear Really Easy Drawing Tutorial
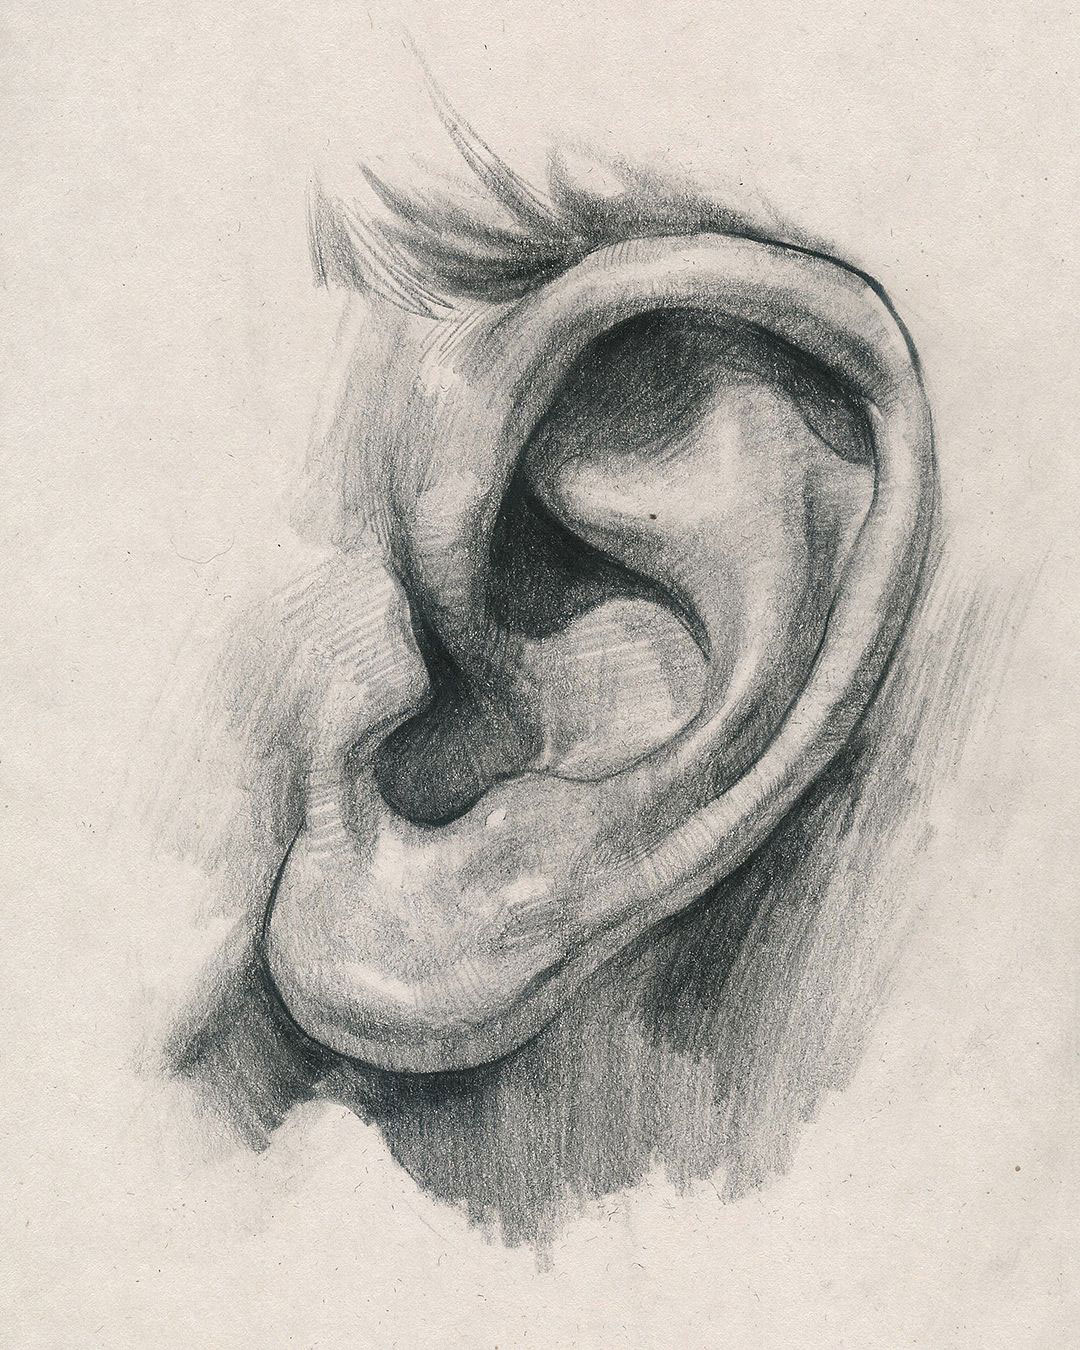
Ear Drawing Reference and Sketches for Artists

Pencil Art Drawings, Realistic Drawings, Art Drawings Sketches Simple
What We Want To Do First Is A Shape That Turns Into An Ear Sketch.
Draw Two More Lines Leading Deep Into The Ear.
Topics Include Illustration, Design, Photography, And More.
Learn How To Draw Ears From Different Angles:
Related Post: